
How to Take the Best Electronic Color Evaluations
We’ve talked before about how different conditions can affect how we perceive color. Visual cues provide immediate feedback to the success of the coloration process. But, everyone sees color differently. Because of this, we need to use electronic color evaluation methods to support what we may see (or may not see) with our eyes. Electronic color evaluations provide measurable data that we can use to compare standards and samples. The equipment most often used to provide an electronic reading is a spectrophotometer machine.
Set Color Viewing Condition Standards
Your spectrophotometer holds data from a color standard. To evaluate a new sample against the standard, the conditions of each need to match. To do this, you need to bring your color sample to the same conditions. Some spectrophotometers may have a condition chamber to speed the cooling of the sample. You’ll also want the chamber to allow for regaining moisture for a more accurate reading. Older machines may use a fan or open vent of an air conditioner to bring the sample to the standard conditions. Regardless, the key is to get the sample as close as possible to the standard’s environment.
How to Take Accurate Electronic Color Evaluations
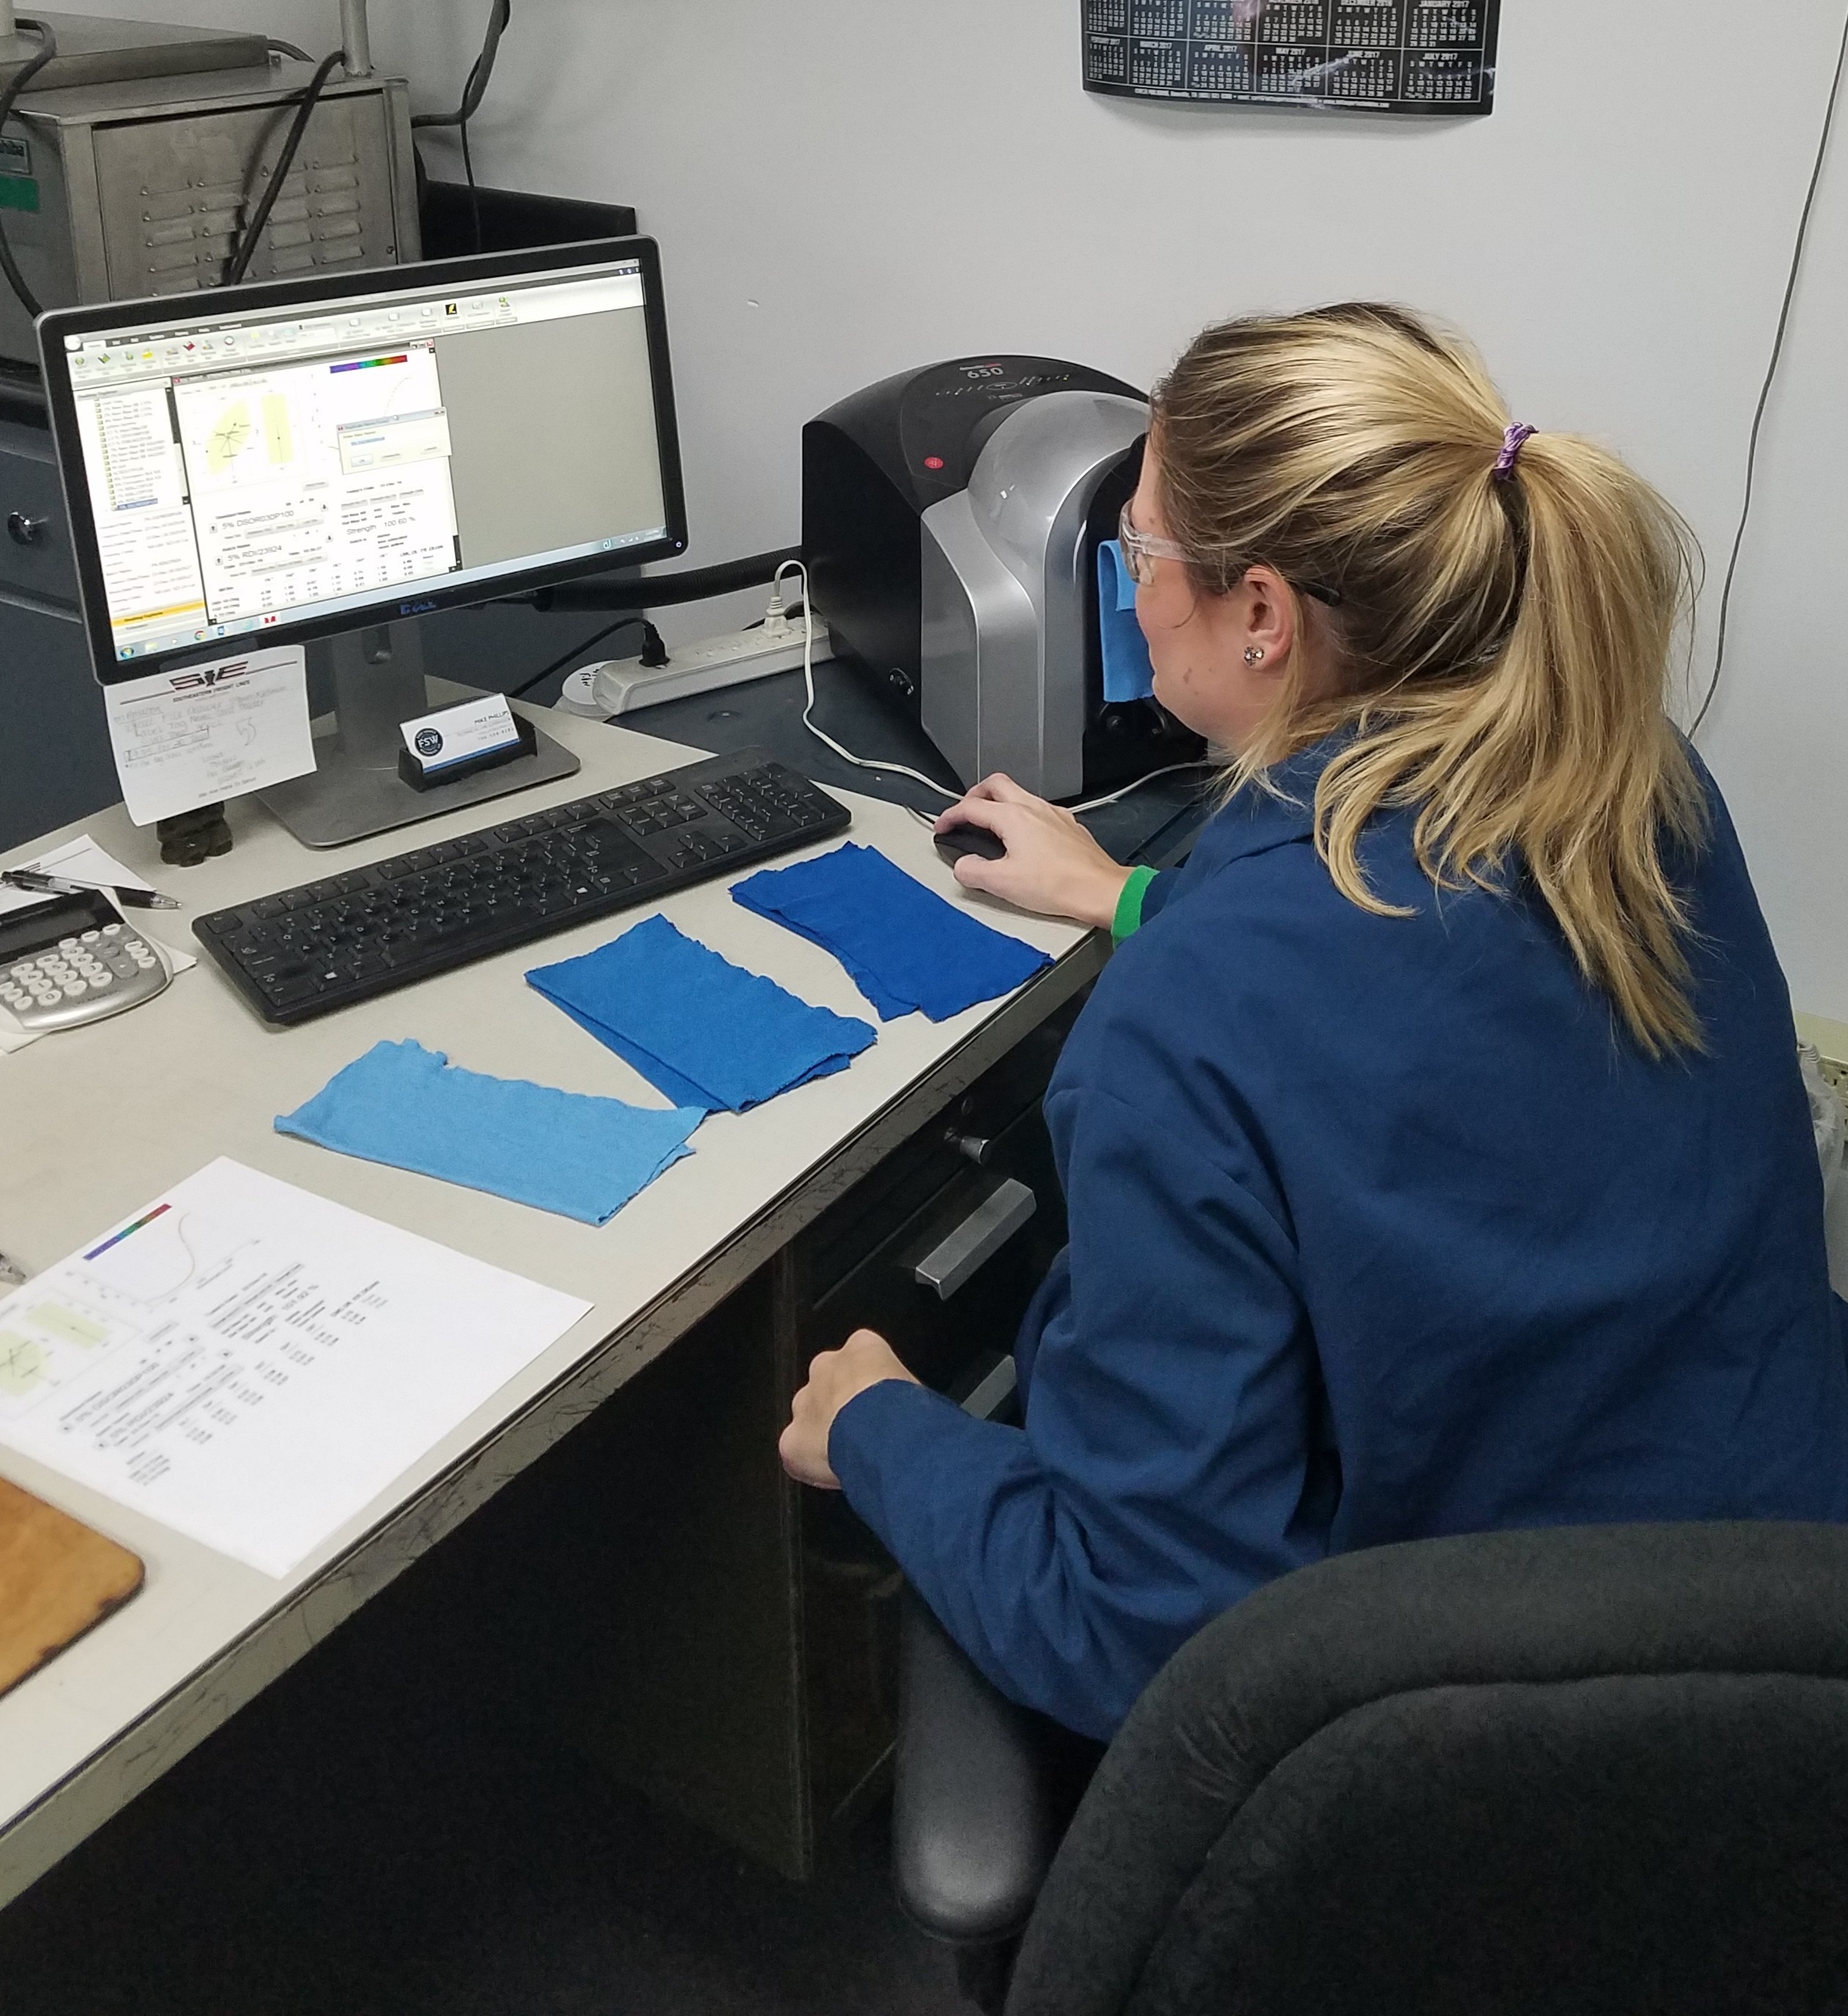
After conditioning the sample, it is now ready to read with the spectrophotometer. Start by folding the sample in fours. This ensures the light from the spectrophotometer does not penetrate through the sample. The reading is inaccurate if penetration occurs. Place the sample into the viewport of the spectrophotometer. It’s best to take an average of four readings, moving the sample between each one. Then you can review the electronic color evaluations and compile data using the computer software.
You’ll see the reflectance data from the sample compared against the standard. You may have a lab standard, or a standard for a customer, which you’ll compare to the data. Delta E (dE) represents the differences between two colors. A dE of 1.0 is the least amount of difference the human eye can see. This is why many labs use color software programs to read beyond what we can see with our eyes. It allows us to better manage color quality.
Within the dE number there are other factors that average together to define the dE. These include the following:
- dL – Measures the shade depth (darkness and lightness) of the sample, when compared to the standard.
- dA – The axis which identifies if the sample is redder or greener, when compared to the color standard. If the shade is too green, a dyer can adjust by adding more red to the recipe, and vice versa.
- dB – The axis which identifies if the sample is yellower or bluer, when compared to the color standard. If the shade is too yellow, a dyer can adjust by adding more blue to the recipe, and vice versa.
- dC – Measures the chroma (brightness and dullness) of the sample, when compared to the color standard.
- dH – Measures the hue of the sample color, when compared to the color standard.
Every client will have their own restrictions for dE tolerances. From my experience, most labs use a 1.0 dE or below for their pass/fail specifications.
Using Lighting Conditions to Prevent Metamerism
Like visual color evaluations, software programs allow you to choose the light source. Many times, you have the option to select primary and secondary light sources. This helps control metamerism, allowing you to measure color under different lighting conditions.
Metamerism (or flare) occurs when a color looks one way in one light source, but another way in a different light source. You may remember this from the popular “Blue and black versus gold and white” dress conspiracy in 2015. The ability to see metamerism allows the dyer to adjust the recipe by selecting dyes with less flare.
Color quality and technology continues to evolve and grow over time. We’re still even discovering new colors! Whether fulfilling expectations of consumers, retaining brand recognition, and providing aesthetics, color quality matters. Color tools like we mentioned above help make evaluating color easier and more accurate.
Need to brush up on your color theory? Click the link below to review the common color characteristics and what they mean for dye technicians.
